Showing posts with label Thanksgiving. Show all posts

The Thanksgiving Decor Train is Leaving the Station! All Aboard!

November 23, 2011

This is it folks, last stop on the Thanksgiving craft train! Choo choo!

Part of my crafting goal on Monday was to create a low key Thanksgiving centerpiece for our Thanksgiving lunch on Thursday afternoon.  Ella Bella cooperated enough to allow me to start the centerpiece on Monday and this afternoon I was able to finish it off while my gingersnap cookies baked {for our evening Thanksgiving I was assigned the pumpkin cheesecake from this month's Bon Appetit - YUM - and it has a gingersnap cookie crust - YUM again!}.


I used one of our long, wooden serving trays that we received as a wedding gift {Thanks Amanda!} and filled it with river rocks that I bought at Dollar Tree {I used half of one bag of small and half of one bag of large rocks}.  I topped the river rocks with the three mini pumpkins that I've kept around since Halloween, and that was as far as I got on Monday.


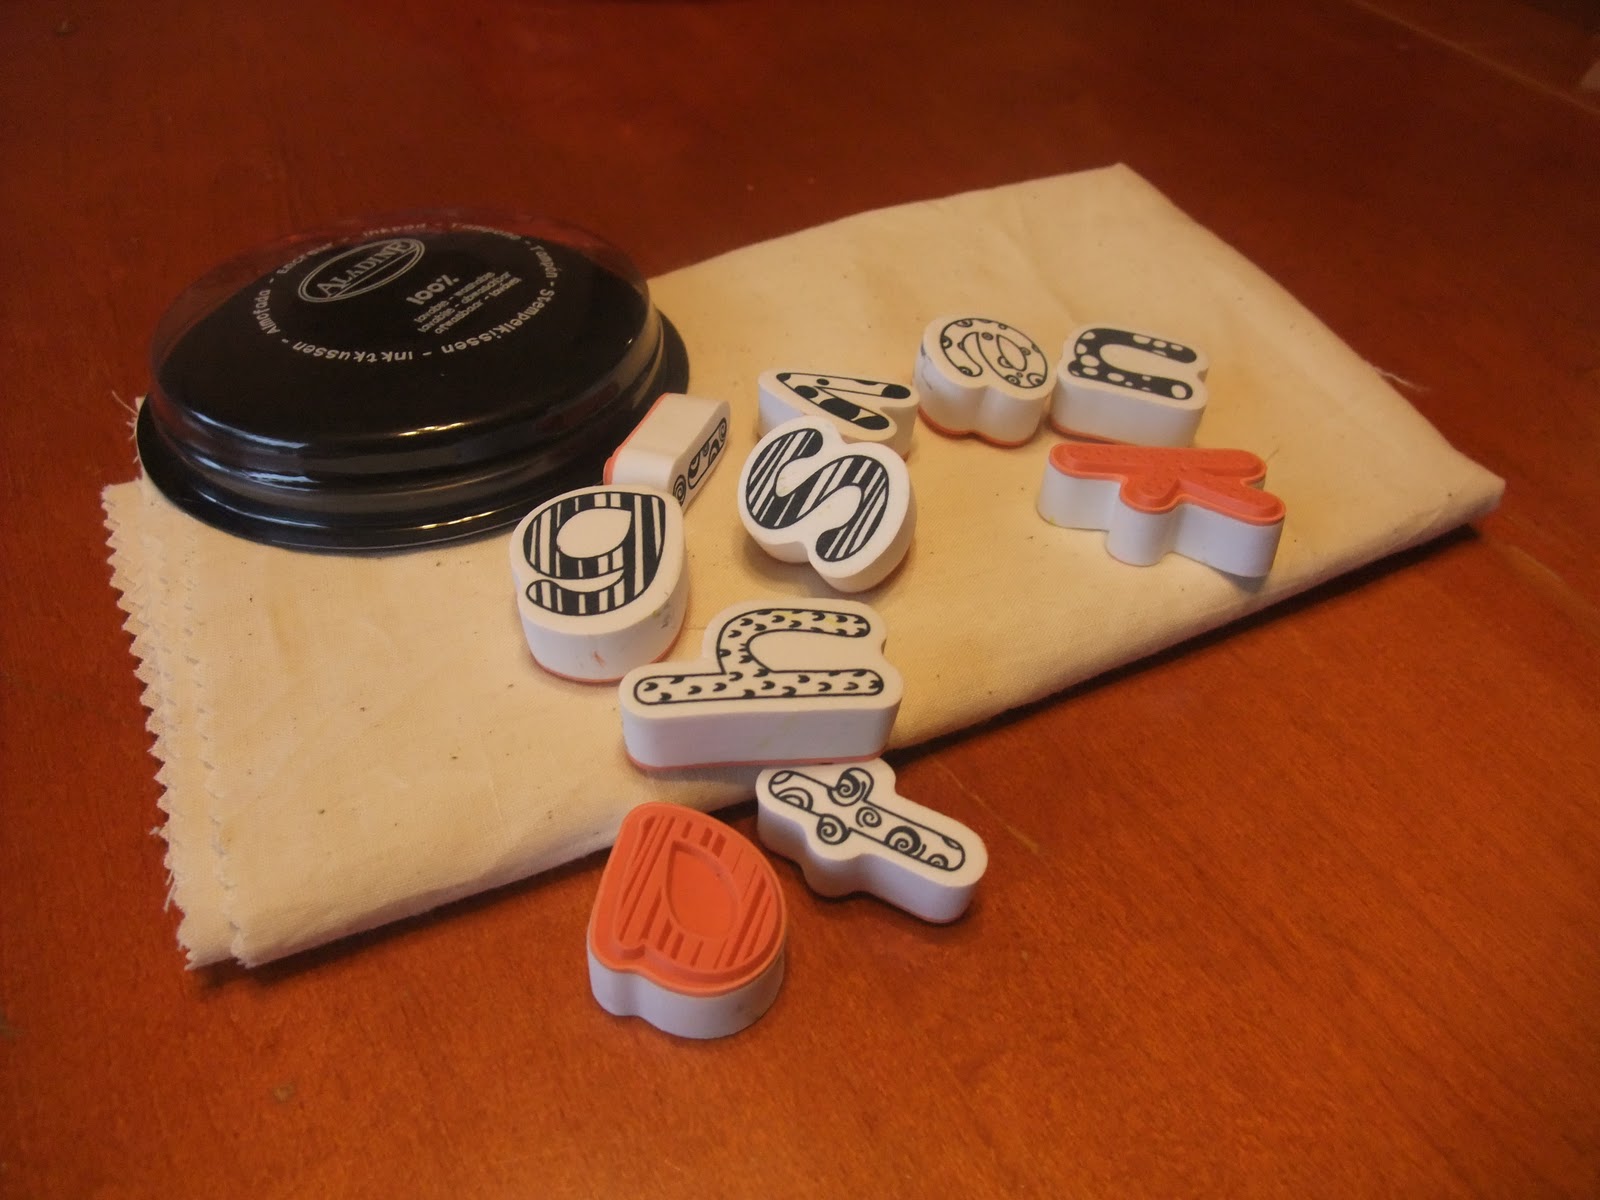
Today I created the ADORABLE bunting, reading "thanks" on one side and "giving" on the other using scraps of muslin and my favorite Sharpie oil-based paint markers. I will probably add a few tealight candles around it for the big day.

For this year's intimate gathering this sprinkling of pizazz will do just the trick. 

Next year we are hoping to host a bigger Thanksgiving to-do and I cannot wait to go all out!

I hope you and yours have a truly blessed day tomorrow {and every day thereafter}!

As we express our gratitude, we must never forget that the highest appreciation is not to utter words, but to live by them.  ~John Fitzgerald Kennedy


A Last Minute Attempt at a Thanksgiving Wreath

November 21, 2011

Thanksgiving week is here!  Yikes, it comes so fast!  

We will be hosting an intimate Thanksgiving lunch in our home for my side of the family and joining my husband's side of the family at his aunt's home in the evening.  This is the first time we have hosted a Thanksgiving meal and we are really looking forward to it {finally we will be the ones with all the yummy leftovers for days!}.

Today I am making some last minute efforts to add a little more Thanksgiving cheer to our humble abode.

During Tiny's morning snooze I was able to whip up a Thanksgiving wreath for the door and my goal for her afternoon siesta is a low key table centerpiece {hopefully Ella cooperates}.

Here is what I came up with this morning:


Tutorial:

1.  Select your pinecones and lay out your design.


2.  I found that it was easier to glue the pinecones securely together if I pushed the tip of the pinecone apart to create a deeper, wider opening.


Fill the space you've created with hot glue.


Repeat until the wreath base is complete.


3.  Select an assortment of Fall fabrics to create your festive bunting.


4.  Stamp your selected words on the fabric.


5.  On the back of the fabric {so as not to leave any visible marks}, trace a circle around each stamped letter and cut out the circles.


6.  Pin the circles onto your Fall fabrics and cut out a square around the circle.


7.  Using Liquid Stitch, glue the circles onto the squares.


8.  Using hot glue, glue a stick across the width of your wreath base and attach a ribbon to the wreath's top for hanging.


9.  Using hot glue, glue the squares on your wreath.  My bunting reads "give thanks" so I glued "give" across the center and "thanks" along the right side of my wreath.


10.  Hang and enjoy!

I cannot wait to enjoy two amazing meals with two amazing families!

I hope your last minute preparations are going as smoothly as mine!  

**This project is linked at Skip to my LouSumos Sweet Stuff, Measured by the Heart and
Todays Creative Blog
Tip Junkie handmade projects

Thanksgiving Banner

November 5, 2011

Yesterday I was perusing all of my favorite blogs and found a must-do project on Tatertots & Jello.  Jen (something about this name makes people unbelievably creative!) made an adorable Thanksgiving bunting with little pockets containing family activities counting down to Thanksgiving.  LOVE IT!

I didn't have any fabric on hand, but when you are feeling inspired waiting can be lethal to the idea you now have fresh on the brain.  I grabbed my stack of scrapbook paper, a few scraps of yarn, my handy craft glue and a few strips of muslin that I have collected from the scrap bin at Joann's.

In my ideal world I would put this cute little banner on the mantel, unfortunately our television is currently blocking about 1/3 of our fireplace.  Ugh...

Here is what I came up with...


'
The gorgeous frayed peacock dahlia is a little number I had hand sewn to use as an embellishment on a crocheted hat for my tiny Ella, but I haven't gotten around to that yet.  It is too beautiful to sit in my craft closet waiting to be appreciated!

Bring on the Holiday Decor!

November 3, 2011

I was feeling awfully festive yesterday and just could not stop my crafty fingers for the life of me!  I wanted to make a new dining table centerpiece since my Halloween arrangement had already served it's purpose.

I found a small gold leaf dish, a slightly larger plain leaf dish and an itty bitty coppery pitcher at Goodwill (cost me a whopping $3.99).  I put a couple coats of metallic gold paint on the plain leaf dish and boy did that make the difference!  From there I just added a few things that I had lying around or stored away in the ol' craft closet.


Simple and classic.

Then I decided to keep it going!  Using things that I had lying around unused I started working on the entryway table.


This bottle cost me $1.99 several weeks ago, I just spruced it up with my handy Sharpie oil-based paint markers to add some Thanksgiving cheer.  I think something like beans or rice would look better and would definitely mesh nicely with the November theme, but sometimes you just go with what you've got.

I didn't stop here!

A few weeks ago I bought a 5x7 frame at Ross for $7.99 for a project, but it ended up not working out, so it sat unused.  A few squares of paper and a marker - WALAH!

THEN I took a dollar store vase filled with dried flowers from a friend's wedding (AWESOMEly decorated wedding by the way) off of my mantel and gave it a little makeover.
All in all, yesterday was a good day!


What are you doing to get ready for the holidays?
Related Posts Plugin for WordPress, Blogger...