Showing posts with label DIY. Show all posts

DIY Lampshade Cover {Brainstorming Session}

May 2, 2012

Okay ladies, I need your help.

I have a seriously outdated chandelier in my dining room.  It is bringing me down!


I found a nice big, white drum shade at Cost Plus World Market on clearance for $15.  It was exactly what I had been looking everywhere for - and on sale!


Now that I am done planning Maia's birthday {HERE} I can focus on my coat closet revamp {HERE} and making this plain shade not so plain.

My thought is to stencil something on some plain white fabric {maybe linen?} and wrap this guy in it.  The colors I plan on using for the stenciling are peacock blue and a light, fresh green.

I will be painting the chandelier white and removing the frosted glass light covers and putting my pretty new shade up there around the whole shabang.

My dilemma lies in the stencil choice.

I was perusing Cutting Edge Stencils and narrowed it down to these two:


I haven't seen the paisley stencil anywhere before and it is darling.

The zinnia is a big hit a lot of places and sometimes tried and true is the way to go.

I need your thoughts!  I won't keep them... just want to borrow them for a moment.

A Harry Potter Birthday Reveal

April 30, 2012

Maia's Harry Potter inspired birthday party finally arrived yesterday!


I think everything turned out pretty darn well.

I can say that without my Silhouette Cameo, a whole lotta this just wouldn't have been possible!!

If you are a party planning gal like myself or you just craft like crazy, you absolute have to invest in one of these.  Follow their blog to keep up with their great ideas, free shapes and deals.  They did not ask me to say any of this!!

I cut all of the letters for my small pennant bunting using my Silhouette.  I would have used it for the letters on the Happy Birthday bunting as well, but my blade had gone kaput and the replacement hadn't arrived yet.  Visit my other Potter party posts {see below} to see how I used the Silhouette on my other projects.


The cake toppers were a huge hit.  Obviously.  Look at them!

My mom made them.  Crafty brilliance is in the blood.


The gorgeous mirror I attached the goody bags sign to didn't have one of those standy up things on the back.  My dad tracked down a piece of wood.  Thank goodness we were at a heavily wooded, waterfront park.


These goody bags are simply dollar store lunch sacks with super cute tags glued on them.


Pyramid O' Frogs.  You can read more about these sweet treats {HERE}.


Endless rows of Bertie Bott's Every Flavour Beans.  More on these {HERE}.


The kids got all of their wizard necessities here at Ollivanders.  Try not to be distracted by the gorgeous water view in the background.  


I know you haven't forgotten my way too cute felt Hogwarts' ties.  I think these were my favorite part.  So hard to choose.  I loved seeing all the little ones running around with them on.  You can check out my tutorial {HERE}.  Or you can skip the headache and buy a set in my Etsy shop.


Every wizard has to have a wand.  Kind of crucial to the whole magic thing.  

I made these little numbers.  

Crazy right?  

Forty wands.  Every single one is different in some way.  

I am not posting a tutorial on these because I loosely followed directions I purchased from Instructables for less than $2.  You can purchase their instructions {HERE}.  Don't want to step on any creative toes.  I did tweak the process here and there, so if you are going to make your own and want some tips - contact me!

Here is where everyone ate:


The book table.


The owl table.


Or, of course, the broomstick table.

And what did they eat, you ask?


How could one decide?  I had a Malfoy.  It was delightful.

All of the letters are thanks to Silhouette, of course.


Wash it down with a little Luna Lovegood Lemonade.  Yes please.

We also had Butterbeer {root beer with awesome labels attached}, but I didn't get a picture.  Major disappointment.


We also had a Potter Pasta Salad {a delicious contribution by my mother-in-law}, but I missed a picture of that too.  It hadn't arrived yet when I was rushing around with the camera.  Poo.

My one nose scruncher about how this all turned out?  


I wish I had spent more time on the food table set up.  I thought of the cute little names and made the labels and the awesome The Three Broomsticks bunting {I wish I had a picture of the adorable tiny brooms that separate each word}, but I didn't take the time to think about the  look as a whole.  I was pretty bummed about that.

See?


Little bit chaotic.  Kind of takes away from the awesomeness.

Next time.

{Don't tell me not to beat myself up over it... you can't stop me.}


Visit my other Potter party posts for a closer look at some of the details.


Thank you so much for joining the party!

{I can finally breathe.}

Featured on:


Linking up to these fabulous parties:


Chocolate Frog Delight

April 28, 2012

A frog just doesn't taste the same without some chocolate.

True statement.

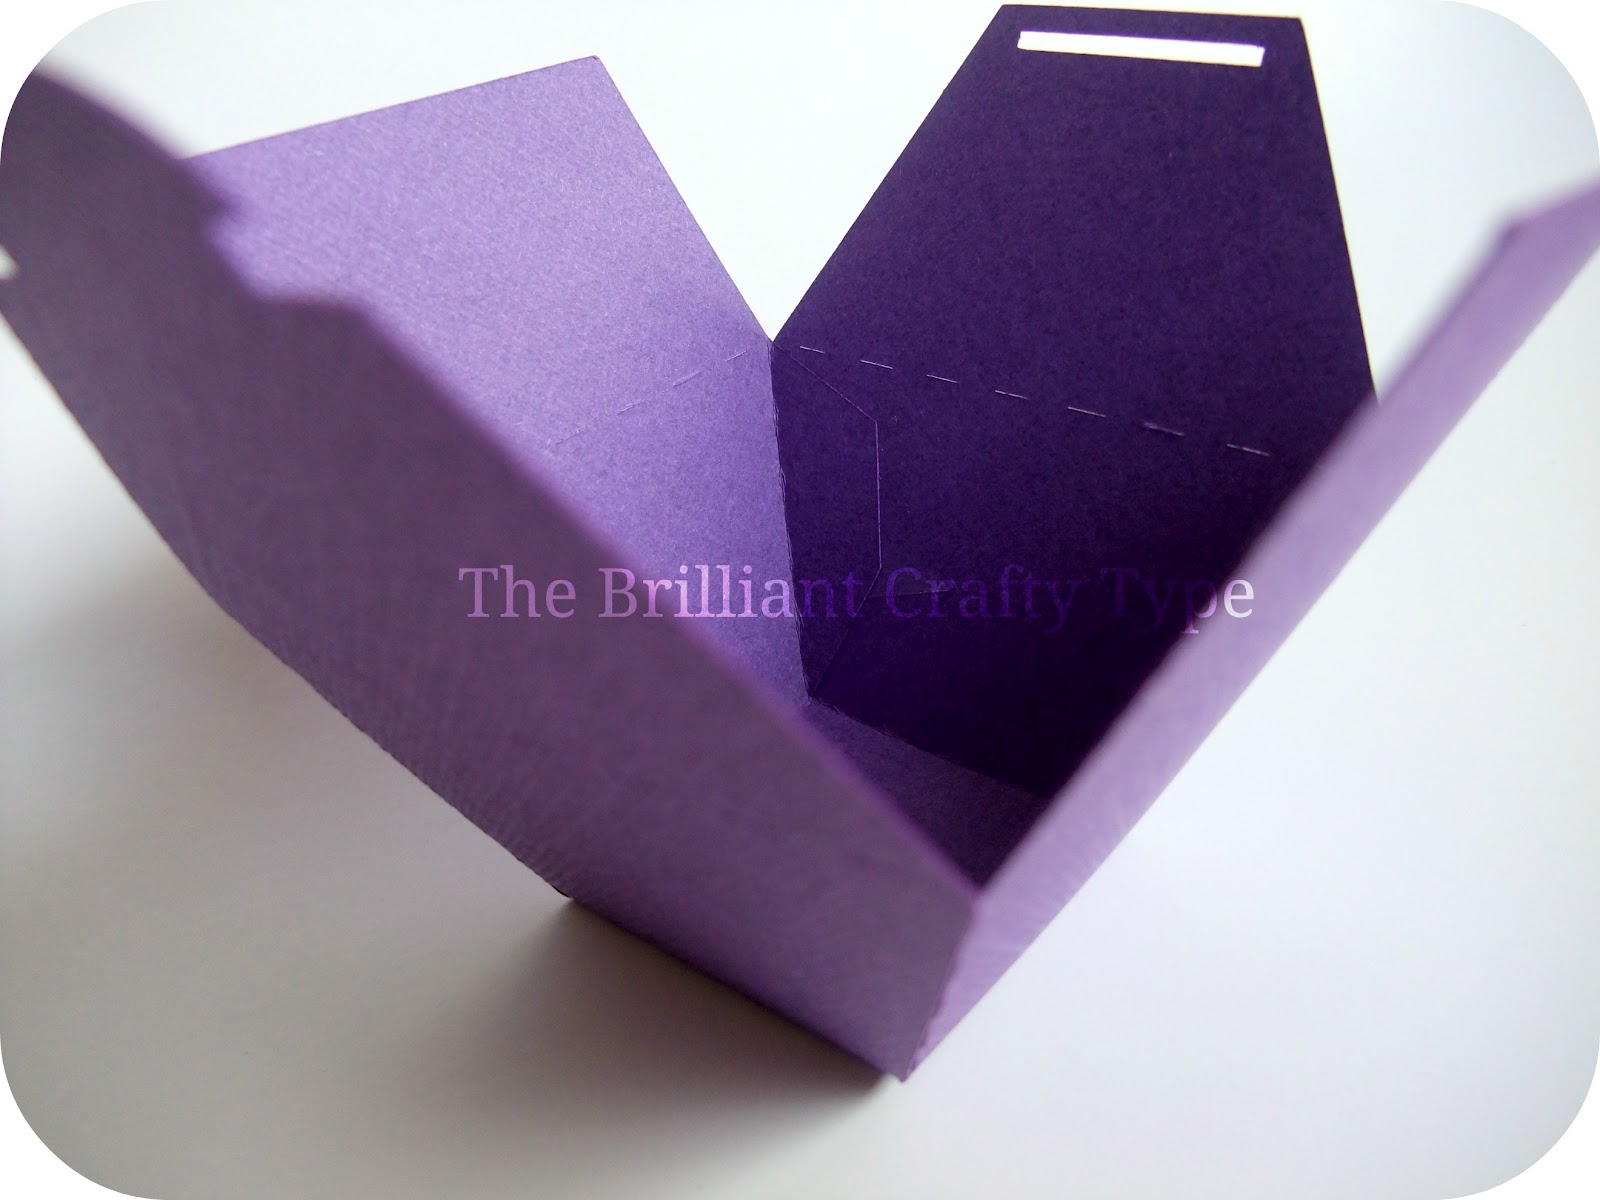
I found a free printable to make replicas of the chocolate frog boxes used in the movies {HERE}, but I didn't want to use up my ink and I wanted to be able to cut them out using my Silhouette {the thought of cutting 40 boxes by hand makes my fingers cramp up}.  I do have the new Silhouette Designer software which is supposed to make it possible to import images easily, but I didn't want to try to figure it out right now.

Soooo, I found a cute little box in Silhouette's online store for $0.99, bought some purple cardstock {hydrangea} and let the Silhouette do the work while I watched Monsters, Inc.


Since I was trying to avoid printing anything I decided not to do labels {ink is so expensive}, I thought cute gold frogs on top would be a nice touch.  Once again, I found the frog in Silhouette's online store for $0.99 and watched Silhouette work her beautiful magic.

I heart her.


I assigned the privilege of making the actual chocolate froggies to my sister months ago.  I am starting to get better at delegating since planning my wedding.  It is really difficult to plan an event with this much detail without recruiting help.

Over time I have come to realize that, while I am super awesome, I am not a miracle worker.  I either need smaller ideas or more hands.  The former was clearly never going to happen.  Well, I guess the latter isn't possible either, but I know a lot of people with hands.  And I have learned that people really do want to help, I just have to ask.  Asking is hard for me.

I'm getting off track here.

Here are the sweet frogs my sister made.


You can find the mold for this particular frog {HERE} and the chocolate candy melts can be found at most craft stores.  My sister bought hers at Michaels {HERE}.

Her first attempt at the frogs was with a recipe she found online somewhere, wherein she was told to melt chocolate wafers in the microwave.  From this she learned that chocolate wafers do not melt in the microwave {at least, not hers} and her smoke alarm needs new batteries.

All in all, I'm sure she enjoyed every moment.

And now...


... here we are, all packed up and ready to party.

The 5 Musts of Party Planning

April 26, 2012

I love party planning.

I love the brainstorming, the crafting, the intricate attention to every detail.  All of it.

My love for party planning always leads me straight down the path to insanity.

But, I still love it.

Over the next 3 days I am going to reveal what remains of my Harry Potter party projects and on day 4 I shall unveil my masterpiece.

This is my baby.

This is the first party that I have put together that makes me think I might have lost my mind.

But, I still love it.

Are you as crazy about party planning as I am?  Or maybe you aspire to be?


1.
Time.

Start brainstorming months in advance.

If this seems crazy to you, then you aren't ready for a party like this.

Depending on the size of your gathering and the complexity of your theme, you will likely need at least one month for the crafting portion.

Plan your time wisely.

2.
Theme.

Make sure you choose carefully.  No pressure.  The right theme should have you buzzing with ideas.

You will know you have chosen wisely when you can't sleep at night because brilliant idea after even more brilliant idea keeps creeping in...

3.
Delegate.

This is something that is new to me and I'm still not very good at it.

It has to be done.

Hopefully you have a wonderful pool of friends and family that you know well enough to have some insight into their craft skill level.

Early on set aside a few party tasks that you feel comfortable handing off.  Make sure you hand out assignments in the early stages of planning.

Over time it gets easier... I promise.

4.
Sleep.

As the big day approaches you will discover a lengthy list of things that have to be done and realize you have fallen behind.

It is inevitable.

You will be tempted to stay up late, crafting until your fingers bleed.

Don't.

Get to bed at a decent hour every night.  If you start pushing it you will start to hate your precious party baby.  Once your feelings start to sour it will only get harder to get everything done.

5.
Cut.

During the final week of prep time make a list of everything that remains to be done.

Everything.

No task is too small for this list.

Evaluate all that remains and then...

...accept that you will not have time to do it all.

Stick with the projects that you can't live without.  If there is anything on the list that isn't a major component to your theme then let it go.

No one has to know.


Be sure to check out the rest of my Harry Potter party posts.  


Linking up to these fabulous parties:


April Showers Bring May Flowers {Tongue Depressor Spring Pallet Art}

April 1, 2012


Here in Seattle our "April Showers" start in... well, actually, some would say our "April Showers" don't start in April because they still haven't stopped.

I would disagree.

Yes, it does rain here in the gorgeous Northwest more than it rains in many other places, but does it rain all the time?  Absolutely not.  We have amazing summers here.  Not too hot.  Not too cold.  Perfection.  But that is neither here, nor there.

Maia wanted to craft something up last week and there was a project I had been dying to try.

U-Create made adorable mini pallets using craft sticks and canvas.  Love them!  They've got a super easy tutorial {HERE}.

I knew I had a box of tongue depressors that my mother had brought over {she works in a doctor's office} many, many moons ago and those are basically craft sticks, right?

I have a few canvases in stock, but I wasn't sure how well this project was going turn out, so for this first go round we used a piece of cardboard.  Next time I will probably use a canvas or several layers of cardboard to get a thicker base.  I would also go with smaller dimensions in the future.

Cutting the depressors was an interesting task.  Pieces of those babies were flying everywhere.  Every time I cut one I told Maia to close her eyes.  My husband almost got it a few times, and he was in the other room.  Hey, I had warned him.

Crafting can be a dangerous business.

After I cut the depressors, I hot glued them onto the cardboard and then let Maia do her thing. 

I asked her to paint a person holding an umbrella.  

She decided on her own to add a few rain drops.  They were so cute and tiny and she was being so careful.

I walked away for a minute.  A minute folks.  When I came back I discovered that there had been a monsoon.  The drops were no longer teeny weeny, she was forcefully pounding the paintbrush here and then there and then there again.  All I could do was stare {mouth agape}.


Can you spot the little drops amongst the madness?

Oh, Maia, I love you.

You probably recognize the bouquet of coffee filter flowers I made for the mantel {HERE}.

I do adore the little splashing drops, don't you?


I haven't found the perfect place for this yet.  It was on the mantel.  Then hanging by the door.  Now it is back on the mantel.  Maybe hang it on the inside of the entry door?


Yeesh.  The decisions I am forced to make each day.  

Being a craftateer is not for the weak.


Linking up to these fabulous parties:

My Mantel is Finally in Full Spring

March 29, 2012

Spring mantels have been popping up all over the place in the last month.  So bright.  So cheery.  So fresh.

I love them.

Despite seeing all of the creative displays I wasn't feeling motivated to transform my drab mantel.

And then it happened.  

Sunshine.

It is amazing what a little peek at the big, bright guy can do to a person.  I was suddenly inspired and moving full spring ahead!

I got rid of the deep, chocolatey brown wall above my mantel, painting it a less "light sucking" color, Simply Beige by Sherwin Williams {same color as the rest of the living room walls}.


Oh the things a girl can accomplish when the little one is napping...


I haven't gotten around to painting the brick and mantel, they are still the yucky, dated brown color.  Thanks to the magic of photo editing I was able to take a peek at what a little white paint might do... I am in love.  I can hear the fireplace whispering "paint me" from every corner of the house.

I love my refreshingly simple Spring mantel.


The gorgeous bouquet was inspired by Little Birdie Secrets.  The flowers are made using coffee filters!  Beautiful.  Want to make some yourself?  Check out the quick, easy tutorial {HERE}.  I did not have floral wire or tape.  I used some wire out of the closet.  You can't see the sticks in this vase anyway, so no biggie.

I made the "Spring." bunting from paper doilies I found at Dollar Tree and letters cut from scrapbook paper on my Silhouette.

I ran a piece of twine through the doilies and tied them to two dowels I found in the closet.  To pretty up the dowels I gave them a quick coat of white paint and then wrapped them in yellow and white twine from The Twinery.

To keep with my yellow, white and blue theme I snatched up two baby blue buttons and attached the bunting to the dowels with those to cover up the knot.

To hold the dowels I dug out two small terra cotta pots and painted them white, yellow and blue.  I wasn't worried about terra cotta showing through so I just did one coat.  To keep the dowels in place I stuck a little square of floral foam in the bottom, jabbed the dowel in it and then filled the pot with river rocks to keep them from shifting.


The frame was a Goodwill find from long ago that I spray painted white.  The simple, elegant vase was a fellow Goodwill pickup.  I love Goodwill!

Lastly, the bunny was cut from scrapbook paper on the ol' Silhouette that I hung on the frame's wire using a mini clothespin.

Ta-da!


How pumped was I that I didn't have to run out to buy a single thing to do this??


Linking up to these fabulous parties:
Visit thecsiproject.com
Sunday: Homemaker on a DimeDIY Show Off

**My entry into Strut Your Stuff sponsored by Appliances Online and the Bosch Washing Machines
Related Posts Plugin for WordPress, Blogger...