


Thanksgiving week is here! Yikes, it comes so fast!
We will be hosting an intimate Thanksgiving lunch in our home for my side of the family and joining my husband's side of the family at his aunt's home in the evening. This is the first time we have hosted a Thanksgiving meal and we are really looking forward to it {finally we will be the ones with all the yummy leftovers for days!}.
Today I am making some last minute efforts to add a little more Thanksgiving cheer to our humble abode.
During Tiny's morning snooze I was able to whip up a Thanksgiving wreath for the door and my goal for her afternoon siesta is a low key table centerpiece {hopefully Ella cooperates}.
Here is what I came up with this morning:

Tutorial:
1. Select your pinecones and lay out your design.

2. I found that it was easier to glue the pinecones securely together if I pushed the tip of the pinecone apart to create a deeper, wider opening.


Fill the space you've created with hot glue.

Repeat until the wreath base is complete.

3. Select an assortment of Fall fabrics to create your festive bunting.

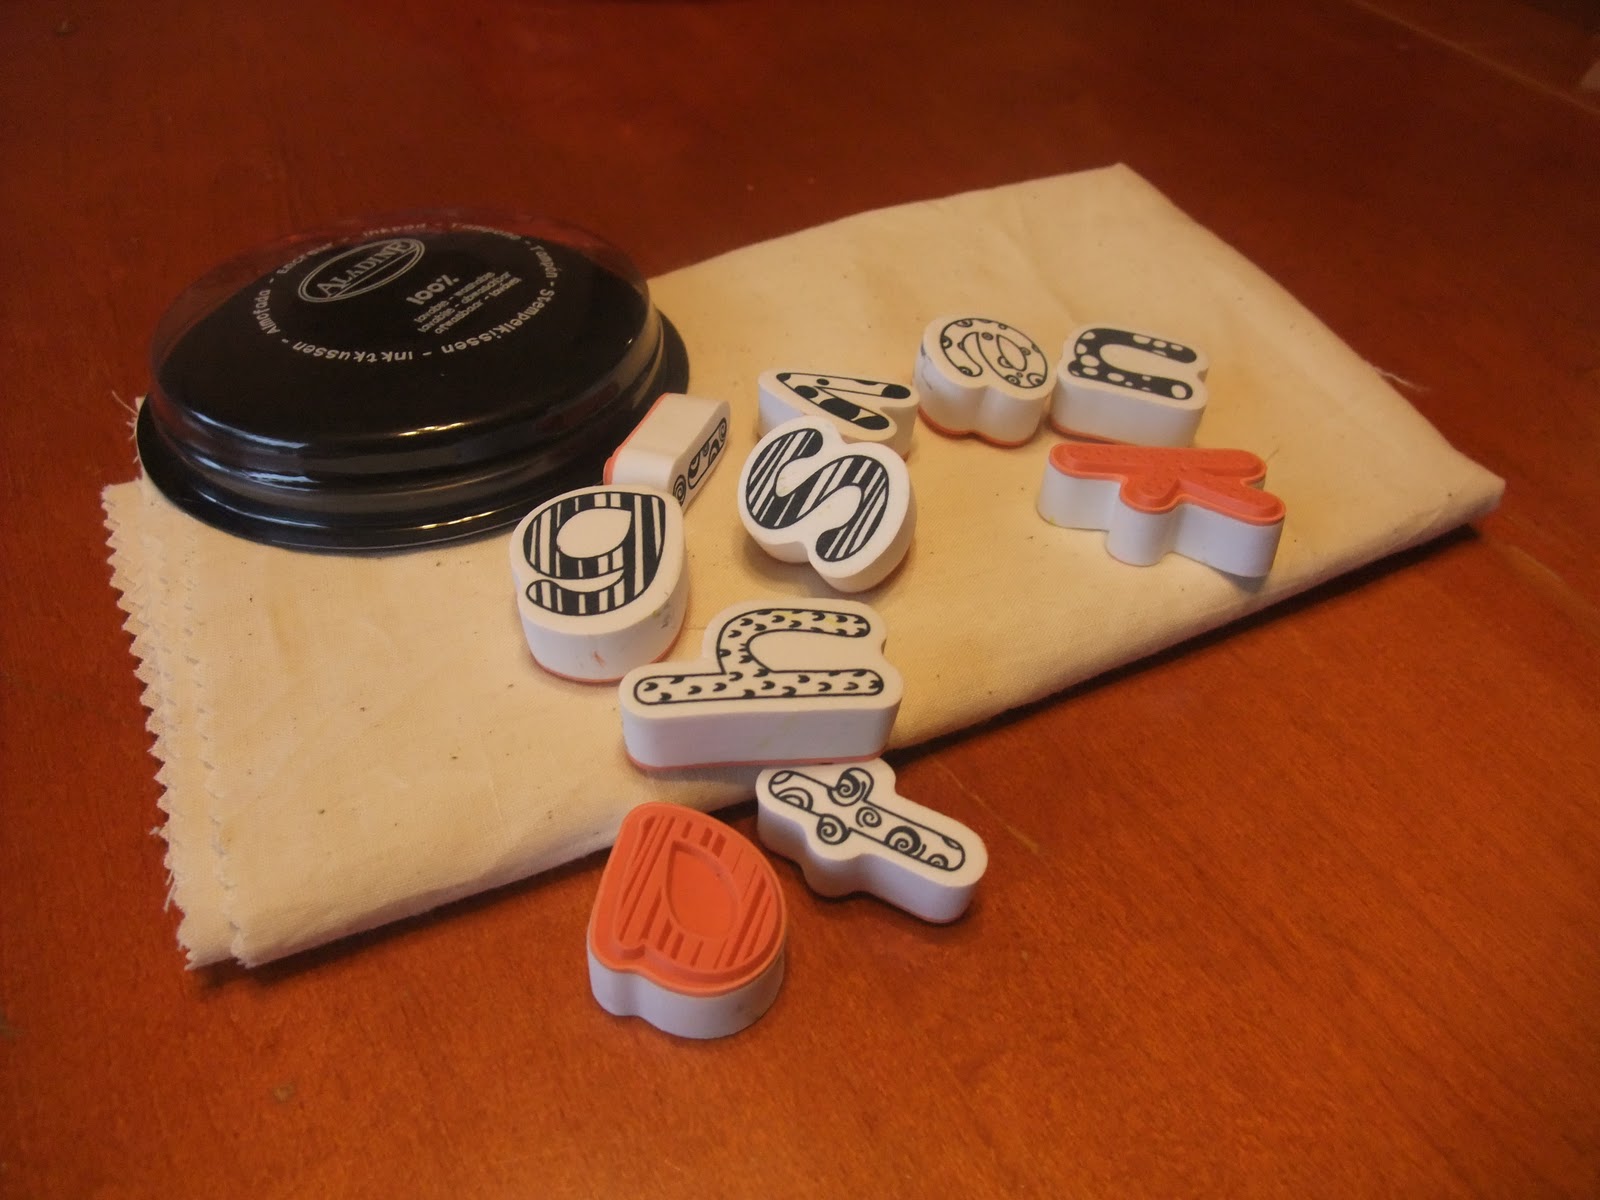
4. Stamp your selected words on the fabric.

5. On the back of the fabric {so as not to leave any visible marks}, trace a circle around each stamped letter and cut out the circles.


6. Pin the circles onto your Fall fabrics and cut out a square around the circle.


7. Using Liquid Stitch, glue the circles onto the squares.


8. Using hot glue, glue a stick across the width of your wreath base and attach a ribbon to the wreath's top for hanging.

9. Using hot glue, glue the squares on your wreath. My bunting reads "give thanks" so I glued "give" across the center and "thanks" along the right side of my wreath.


10. Hang and enjoy!
I cannot wait to enjoy two amazing meals with two amazing families!
I hope your last minute preparations are going as smoothly as mine!


3 comments:
Congrats on winning the Blog Makeover at TT&J! That is awesome! Can't wait to see the finished results!
So you have inspired me (: however I cannot seem to be able to figure this blog thing out for the life of me, so maybe you can help me? I figured with a few tips from the Queen of creative blogging on my side my blog may just have a chance (:
So cute. I love it. Thank you for sharing and for linking up to last weeks show and share party. Please come back this week and share your latest project with us.
A mommy's life...with a touch of yellow
wjwiki07@hotmail.com
Post a Comment